Xtumble Desktop CRM
Scarica l'app Xtumble Desktop per creare le tue liste contatti e personalizzare i template mail per le tue campagne.

Creare una mailing list
Metodo 1
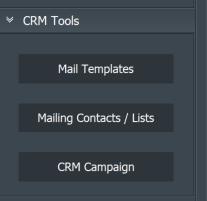
Clicca sul bottone in alto a sinistra della schermata menù "Mailing Contacts / Lists" per creare una nuova mailing list.
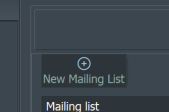
Assegna un nome in codice per semplificare il riconoscimento delle tue mailing list (per esempio scrivi "ML_SALDI_50" o "ML_ITALIA").
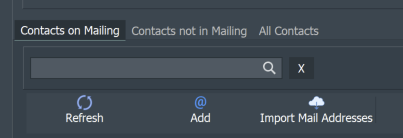
Seleziona il tab "Contacts on Mailing", clicca sul bottone "Import Mail Addresses" e carica la tua lista contatti in formato txt o csv compilata solo con l'elenco delle mail (una riga per mail), i contatti saranno associati automaticamente alla mailing list selezionata.
Metodo 2
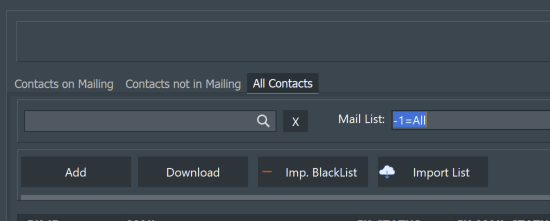
Seleziona il tab "All Contacts" e clicca sul bottone "Import List", carica i tuoi contatti in formato excel dopo aver compilato il foglio l'excel standard relativo alle importazioni di mailing list (scarica qui il template).
Per una corretta importazione è necessario compilare i campi "MAIL" e "EXT_KEY_MAILING_LIST" (consulta la guida alla compilazione qui).
Clicca sul tasto "Imp. BlackList" per importare l'elenco in formato txt o csv dei contatti non validati dal servizio SMTP (una riga per mail), verranno marcati come non validi e disiscritti da tutte le mailing list in automatico.
Clicca sul tasto "Add" per creare un contatto da aggiungere all' elenco dei tuoi contatti mail.
Associare i contatti alla mailing list
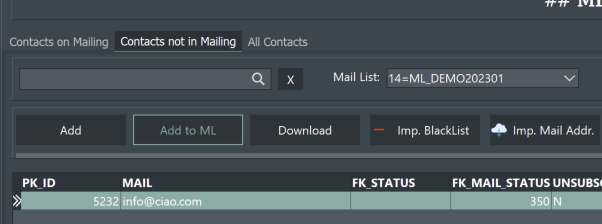
1)Seleziona il tab "Contacts not in Mailing" per visualizzare i contatti non associati alla mailing list selezionata.
2)Seleziona dalla griglia i contatti da inserire nella mailing list selezionata.
3)Clicca sul bottone "Add to ML" per associare i contatti.
Importare elenchi mail in blacklist (Spam/Bounce)
Clicca sul bottone in alto a sinistra della schermata menù "Mailing Contacts / Lists".

Seleziona il tab "All Contacts" e clicca sul bottone "Imp. BlackList" per importare l'elenco in formato txt o csv dei contatti non validati dal servizio SMTP (una riga per mail), verranno marcati come non validi e disiscritti da tutte le mailing list in automatico.
